How to Print Receipts with Thermal Printer
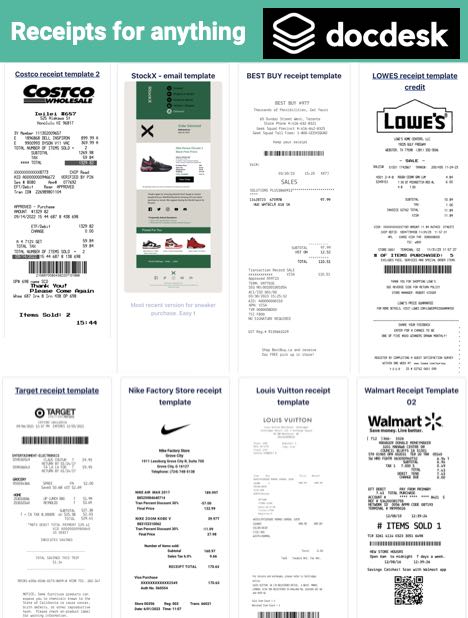
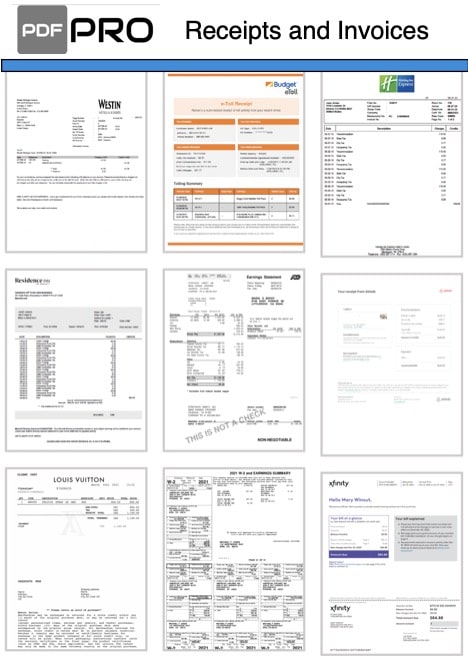
Printing professional-looking receipts at home is now easier than ever, especially with tools like ExpenseFAST.com, where you can generate and customize hundreds of receipt templates. If you’re looking to print your custom receipts on real receipt paper, a thermal receipt printer is the most reliable option. In this article, we’ll cover what thermal receipt printers are, how they work, and walk you through the steps to print your receipts using a popular thermal printer model.
What is a Thermal Receipt Printer?
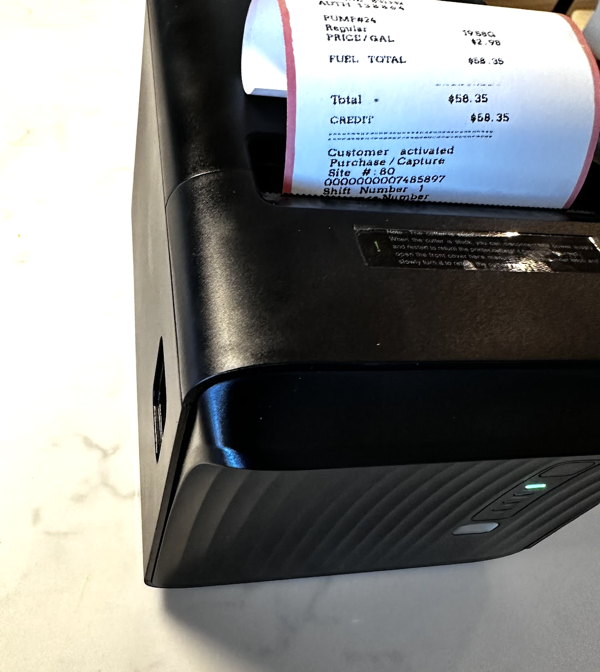
A thermal receipt printer is a specialized printer designed to print receipts on thermal paper, which is a type of paper coated with a heat-sensitive material. Unlike regular inkjet or laser printers, thermal printers don’t use ink. Instead, they use heat to create text and images on the paper. This makes them ideal for printing receipts, as they are:
-
- Fast: Thermal printers can quickly produce receipts with high clarity.
-
- Cost-Effective: No need for ink or toner cartridges, just thermal paper rolls.
-
- Reliable: Designed for heavy-duty use in retail and hospitality environments.
Thermal receipt printers are the only way to reliably print to real receipt paper, making them the preferred choice for businesses and home users looking for a professional finish.
How Thermal Receipt Printers Work
Thermal printers use a heated print head that applies heat to the thermal paper. The heat causes a chemical reaction on the paper, turning it black in the areas where heat is applied. This process allows the printer to produce sharp text, logos, and even images without the need for ink or toner. Some models even come with built-in automatic cutters, which trim the receipt after printing for a neat and professional look.
Steps to Print Receipts Using a Thermal Printer
Step 1: Create a Receipt Using ExpenseFAST.com
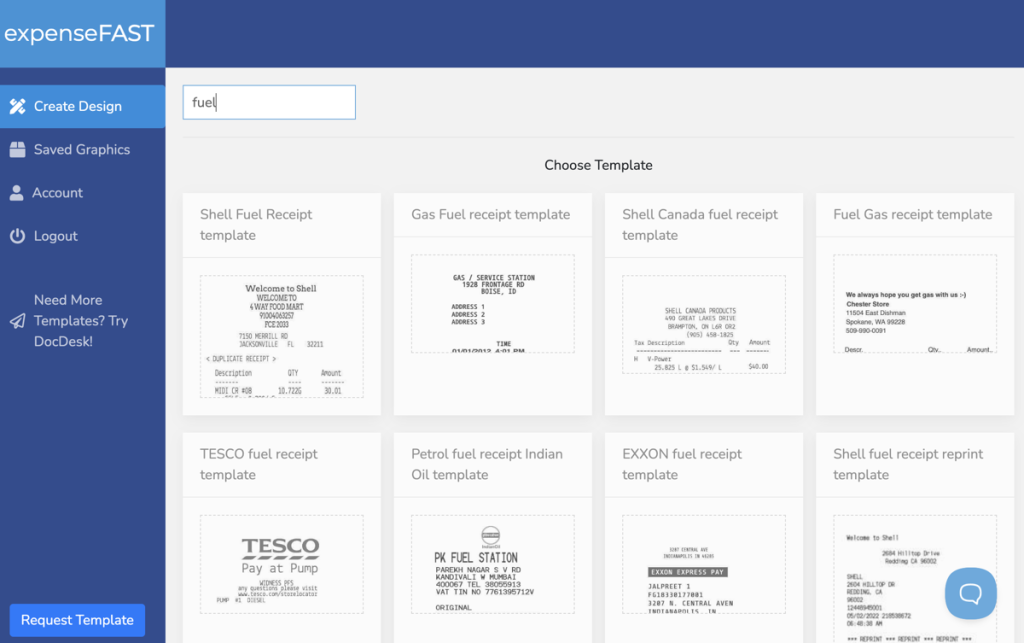
The first step is to generate a receipt image using ExpenseFAST.com. With ExpenseFAST, you can choose from hundreds of receipt templates, customize the details, and create a professional-looking receipt in minutes. Once you’ve finished customizing your receipt, save the image (in JPG or PNG format) to your computer.
Step 2: Install the Printer Driver
To print your receipt, you’ll need to install the driver for your thermal printer. In this guide, we’ll use the Rongta POS Printer, 80mm USB Thermal Receipt Printer as an example. Here’s how to do it:
-
- Connect the Printer: Plug the printer into your computer using the USB cable provided.
-
- Install the Driver:
-
- Mac Users: Visit the printer manufacturer’s website (Rongta) and download the latest driver for macOS. Run the installer and follow the on-screen instructions.
-
- Windows Users: Download the driver for Windows from the Rongta website. Open the installer and follow the prompts to complete the installation.
-
- Install the Driver:
Step 3: Set the Thermal Printer as the Default Printer
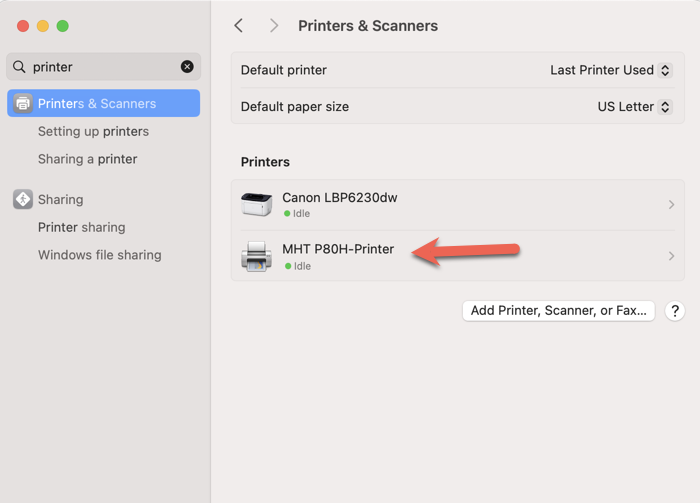
After installing the driver, set the Rongta POS Printer as your default printer:
-
- Mac:
-
- Go to System Preferences > Printers & Scanners.
-
- Select the Rongta POS Printer and click Set as Default Printer.
-
- Mac:
-
- Windows:
-
- Open Settings > Devices > Printers & Scanners.
-
- Click on the Rongta POS Printer and select Set as Default.
-
- Windows:
Step 4: Print the Receipt Image
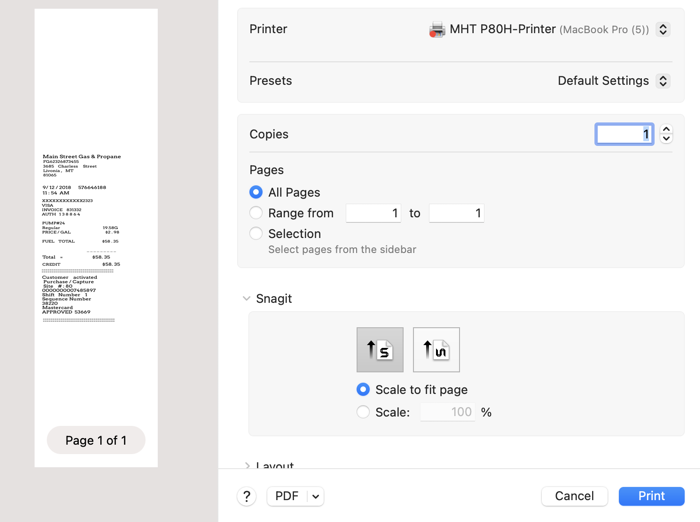
Now that your thermal printer is installed and set as the default printer, you’re ready to print the receipt image.
-
- Mac Users:
-
- Open the receipt image in the Preview app (default image viewer on macOS).
-
- Go to File > Print or press Cmd + P.
-
- In the print dialog, select the Rongta POS Printer.
-
- Adjust the paper size and scaling options to match the 80mm thermal paper roll. You may need to set the paper size to 80mm x 297mm (or custom dimensions) to fit the length of the receipt.
-
- Click Print.
-
- Mac Users:
-
- Windows Users:
-
- Open the receipt image in your preferred image viewer (e.g., Photos, Paint, or Windows Photo Viewer).
-
- Go to File > Print or press Ctrl + P.
-
- Choose the Rongta POS Printer from the list of printers.
-
- Adjust the printer settings to match the thermal paper size (80mm width). Check the scaling options if the receipt looks stretched or cut off.
-
- Click Print.
-
- Windows Users:
Step 5: Collect Your Receipt
The receipt should now print on the thermal paper. If your printer has an automatic cutter, it will neatly trim the receipt after printing.
Additional Tips
-
- Adjust Print Settings: If the receipt image doesn’t fit properly on the paper, try adjusting the scale, margins, or orientation in the print dialog.
-
- Use Quality Thermal Paper: For the best results, use high-quality thermal receipt paper to ensure clear printing and durability.
-
- Test Before Printing Multiple Copies: It’s a good idea to do a test print to ensure everything looks correct before printing multiple copies.
Conclusion
Printing receipts at home is simple and efficient with a thermal receipt printer and a tool like ExpenseFAST.com. By following the steps above, you can easily generate and print professional-looking receipts on real receipt paper. Thermal printers are fast, reliable, and offer features like automatic cutting, making them the perfect choice for anyone who needs to print receipts regularly.
In our next article, we’ll cover how to print receipts using a Bluetooth thermal printer, which offers even more flexibility for mobile users.
Happy printing, and be sure to check out our extensive collection of customizable receipt templates on ExpenseFAST.com!
Looking for more receipt styles and templates? Try these options:
InvoiceWriter.com
Hotels, Auto Repair, Amazon, Airlines, Venmo, Best Buy, Home Depot
